Using Diffusion with Docker
Diffusion is available as a Docker image from Docker Hub.
You must have Docker installed on your system to run Diffusion from a Docker image. For more information, see the Docker user guide.
1. Pull the image for the version of Diffusion you require:
docker pull pushtechnology/docker-diffusion:VERSION
replacing VERSION with a version number, for example:
docker pull pushtechnology/docker-diffusion:6.6.1
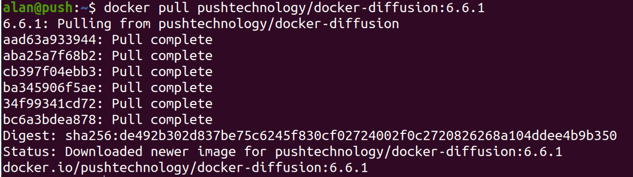
(If you’re not sure what version to use, we suggest the latest release.)
2. Use the command
docker images
to see details of the Diffusion image.

3. Run the image using
docker run -p 8080:8080 IMAGE ID
replacing IMAGE ID with the IMAGE ID value from the previous command. (Alternatively, use tab completion to enter the full path of your image.)
The -p flag maps your local port 8080 to port 8080 in the container to allow client connections.
The Diffusion server will start up as normal.
Building your own Diffusion image
The default Diffusion image contains well known security principals and credentials and should not be used in production.
The default image also includes a restricted license that enables you to have up to 5 concurrent sessions connected to the Diffusion server. For information on obtaining a more capable license see: License Types.
To build your own Diffusion image with custom configuration you will need to add Diffusion configuration files to your default image. You can do this with a Dockerfile. (See Docker’s documentation about using Dockerfiles for full details).
For example, say the directory for your project contains these Diffusion configuration and license files:
- Connectors.xml
- license.lic
- Security.store
- SystemAuthentication.store
Add a file called Dockerfile with this content:
FROM pushtechnology/docker-diffusion:6.6.1
ADD license.lic /opt/diffusion/etc/license.lic
ADD Connectors.xml /opt/diffusion/etc/Connectors.xml
ADD Security.store /opt/diffusion/etc/Security.store
ADD SystemAuthentication.store /opt/diffusion/etc/SystemAuthentication.store
Line 1 establishes the default image you pulled earlier as the base for your new image.
Lines 2-5 add the files from your local directory to the given directory in the image; in this case, the etc directory of your Diffusion installation.
The configuration files can contain custom settings for the image. For example, you might have defined a custom connector, ‘Foo Connector’, in Connectors.xml.
<connector name="Foo Connector">
<port>8091</port>
<queue-definition>LargeQueue</queue-definition>
<socket-conditioning>
    <input-buffer-size>1024K</input-buffer-size>
    <output-buffer-size>1024K</output-buffer-size>
</socket-conditioning>
<max-queued-bytes>1G</max-queued-bytes>
<key-store>
    <file>./sample.keystore</file>
    <password>OB:0dm9lGVslzTpQ72S</password>
</key-store>
<web-server>default</web-server>
<system-ping-frequency>90s</system-ping-frequency>
<reconnect>
    <recovery-buffer-size>10000</recovery-buffer-size>
</reconnect>
<protocols>
    <protocol>DIFFUSION_WEBSOCKET</protocol>
</protocols>
</connector>
Now build your image with the command:
docker build . -t my-diffusion:1.0
The . specifies that we are building from the current directory, while the -t flag allows us to give our image a custom name and version. You now have two Docker images, your initial base image and your new custom image, my-diffusion. You can see the details with
docker images

Run the new image as you did previously with:
docker run -p 8080:8080 IMAGE ID
making sure to use the ID of the new image.
The Diffusion server will start up as before, with the configuration changes you made applied, in this case the new ‘Foo Connector’ configuration.

The image you’ve created contains a configured Diffusion server ready for you to use in your solution.
You can run multiple identically configured Diffusion servers from this image. Here is how to quickly spin up three Diffusion servers, providing a unique local port for each server and running as a background container with the -d flag:
docker run -p 8080:8080 -d my-diffusion:1.0
docker run -p 8085:8080 -d my-diffusion:1.0
docker run -p 8090:8080 -d my-diffusion:1.0
You can see your new servers with:
docker ps
![]()